Docs
![]() Puppet Enterprise
Puppet Enterprise
![]() Orchestrating Puppet runs, tasks, and plans
Orchestrating Puppet runs, tasks, and plans
![]() Setting up the orchestrator workflow
Setting up the orchestrator workflow
![]()
Setting up the orchestrator workflow
Sections
The orchestrator—used alongside other PE tools, such as Code Manager—allows you to control when and how infrastructure changes are made before they reach your production environment.
This recommended workflow gives you precise control over rolling out changes, from updating data and classifying nodes, to deploying new Puppet code. You configure your agents to use cached catalogs during scheduled runs, and send new catalogs only when you're ready via orchestrator jobs. Scheduled runs continue to enforce the desired state of the last orchestration job until you send another new catalog.
- To use this workflow, you must enable cached catalogs for use with the orchestrator so that they enforce cached catalogs by default and compile new catalogs only when instructed to by orchestrator jobs.
- This workflow also assumes you’re familiar with Code Manager. It involves making changes to your control repo—adding or updating modules, editing manifests, or changing your Hiera data. You’ll also run deploy actions from the Code Manager command line tool and the orchestrator, so ensure you have access to a host with PE client tools installed.
Set up node groups for testing new features
The first step in the workflow is to set up node groups for testing your new feature or code.
Create a feature branch
After you've set up a node group, create a new branch of your control repository on which you can make changes to your feature code.
-
Branch your control repository, and name the new
branch, for example,
my_feature_branch.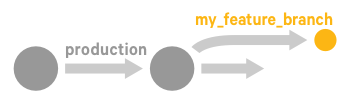
Deploy code to the primary server and test it
Now that you've made some changes to the code on your feature branch, you're ready to use Code Manager to push those to the primary server.
-
To deploy the feature branch to the primary server, run the following Code Manager command:
 puppet code deploy --wait
                  my_feature_branch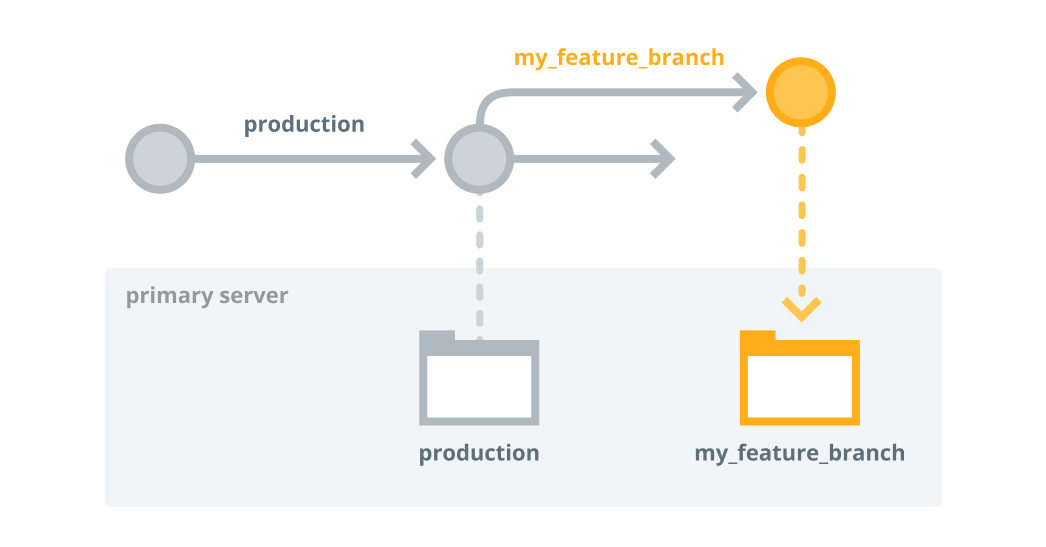
Note: After this code deployment, there is a short delay while Puppet Server loads the new code. -
To test your changes, run Puppet on a few
agent-specified development nodes in the my_feature_branch
environment, run the following orchestrator command:
puppet job run --nodes my-dev-node1,my-dev-node2 --environment my_feature_branchCopied!Tip: You can also use the console to create a job targeted at a list of nodes in themy_feature_branchenvironment.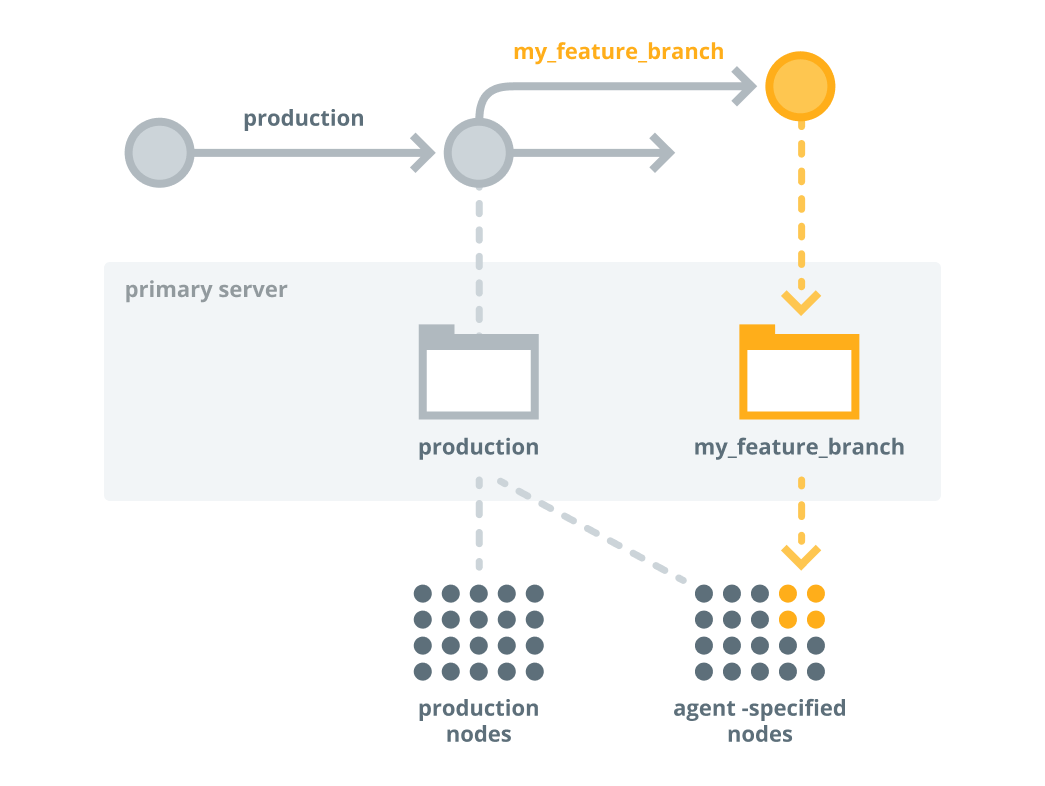
Merge and promote your code
If everything works as expected on the development nodes, and you're ready to promote your changes into production.
-
Merge
my_feature_branchinto theproductionbranch in your control repo.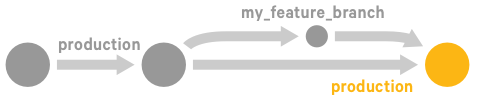
Preview the job
Before running Puppet
across the production environment, preview
the job with the puppet job plan command.
production environment, as well as the agent-specified
development nodes that just ran with the my_feature_branch environment, use the following
query as the job target:
puppet job plan --query 'inventory {environment in ["production", "my_feature_branch"]}Copied!Run the job on the production environment
If you're satisfied with the changes in the preview, you're
ready to enforce changes to the production
environment.
puppet job run --query 'inventory {environment in ["production", "my_feature_branch"]}Copied!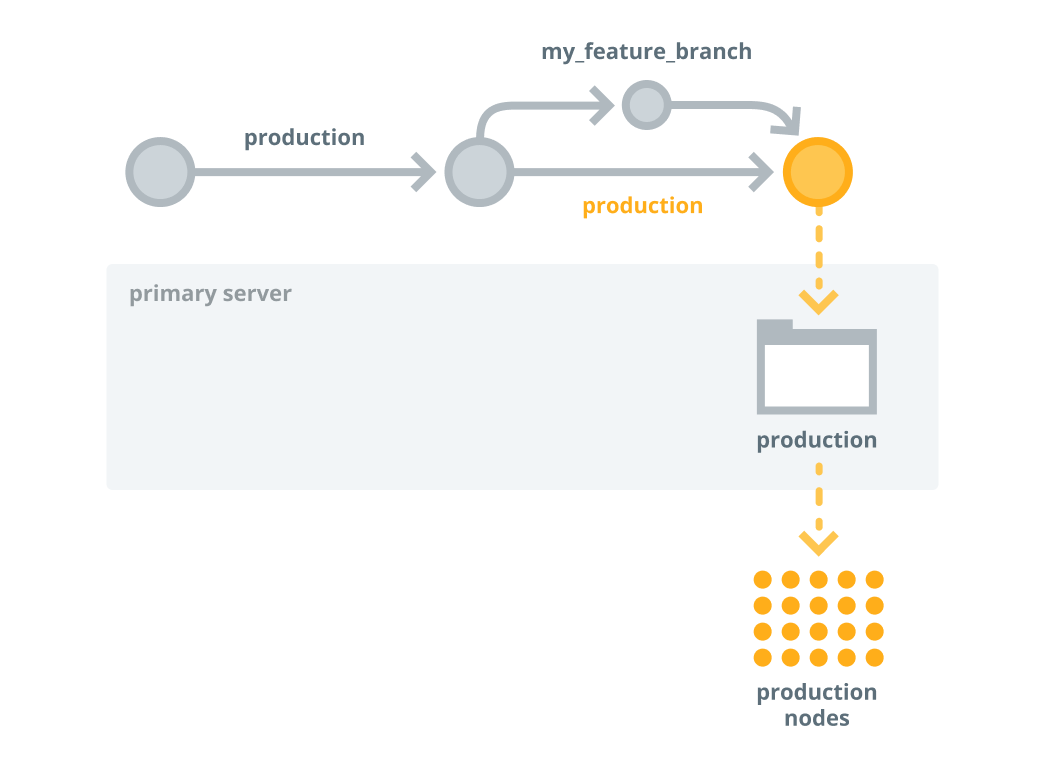
Validate your production changes
Finally, you're ready to validate your production changes.
Check the node run reports in the console to confirm that the changes were applied as intended. If so, you're done!
Repeat this process as you develop and promote your code.