How Razor works
There are five key steps for provisioning nodes with Razor.
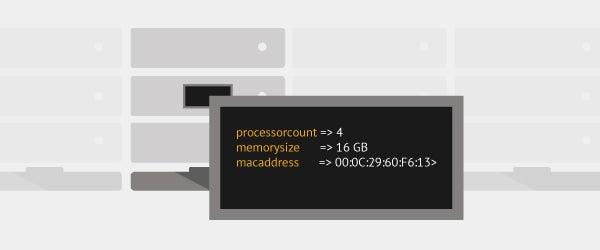
When a new node appears, Razor discovers its characteristics by booting it with the Razor microkernel and using Facter to inventory its facts.
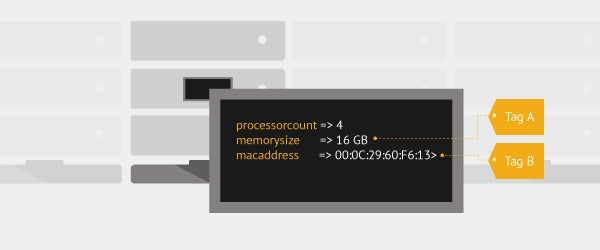
The node is tagged based on its characteristics. Tags contain a match condition — a Boolean expression that has access to the node’s facts and determines whether the tag is to be applied to the node or not.

Razor system requirements
The Razor server and client are supported on these operating systems.
| Component | Supported OS |
|---|---|
| Server |
|
| Client |
|
Pre-requisites for machines provisioned with Razor
To successfully install an operating system on a machine using Razor, the machine must meet these specifications.
-
Have at least 512MB RAM.
-
Be supported by the operating system you're installing.
-
Be able to successfully boot into the microkernel. The microkernel is based on CentOS 7, 64-bit only, and supports the x86-64 Intel architecture.
-
Be able to successfully boot the iPXE firmware.